Cooking Guides & Masterclasses
How to Sear Steak Perfectly in a Pan
By Sarah Mitchell · September 22, 2026 · 8 min read
Jump to Recipe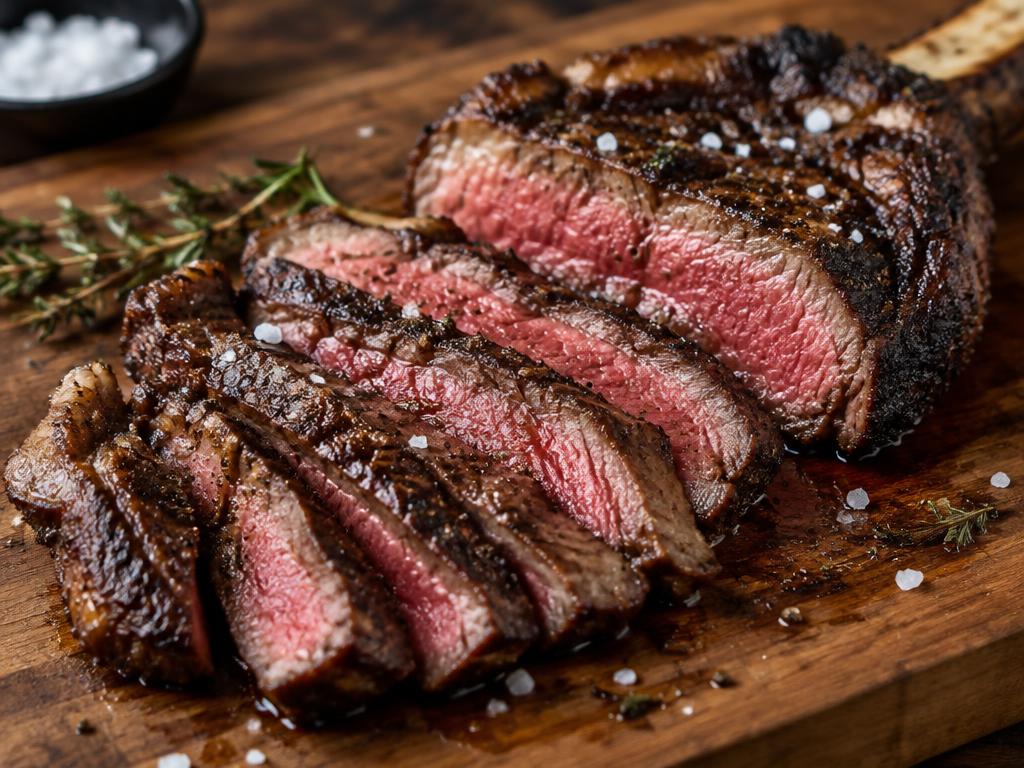
Restaurant-quality steak at home comes down to dry meat, a very hot pan, and an accurate thermometer.
Dry-brine ahead
Salt the steak and rest it uncovered in the fridge for 1–24 hours. The surface dries for better browning.
Preheat properly
Heat a cast iron or stainless pan until oil just smokes.
Flip often
Flipping every 30–60 seconds cooks more evenly and builds a uniform crust.
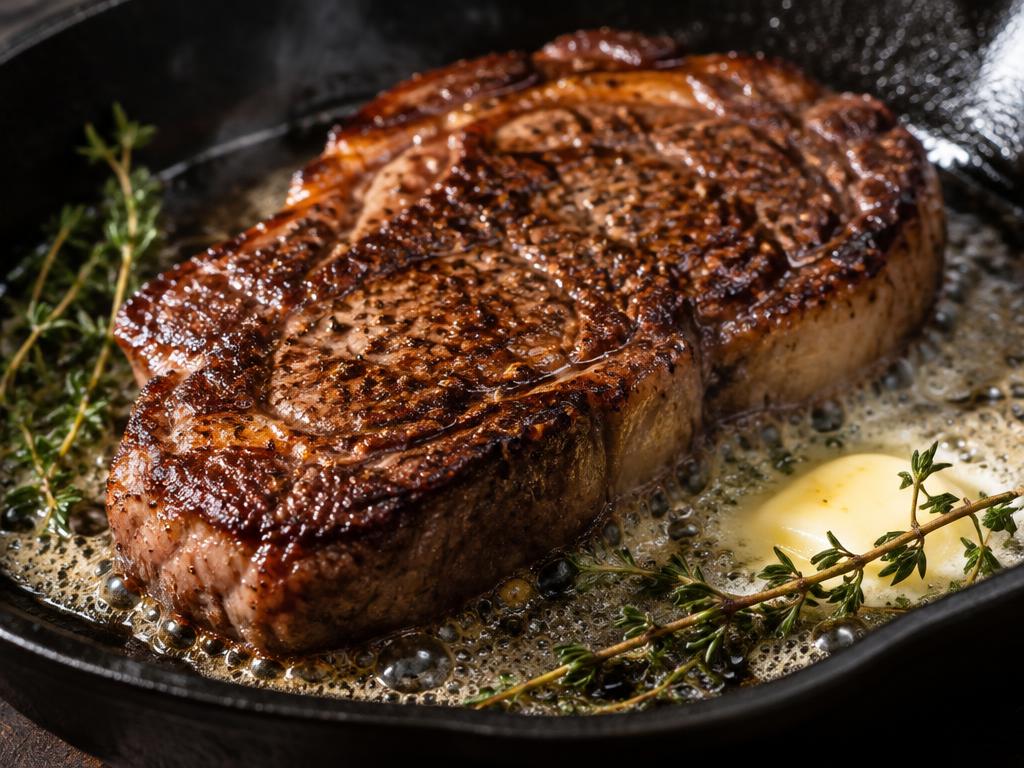
Butter-baste to finish
Add butter, garlic and thyme for the final minute and spoon over the steak.
Temperature and rest
Pull at 125°F for medium-rare (USDA recommends 145°F plus a 3-minute rest for whole cuts). Rest 5 minutes.
Choose thickness before choosing a cooking time
Thickness is more useful than weight for predicting how a steak will behave in a pan. A wide, thin steak can weigh as much as a compact thick one but reach its final internal temperature much sooner. For a forgiving pan-searing project, choose a relatively even steak about 1–1 1/2 inches (2.5–4 centimeters) thick. Boneless strip and ribeye offer broad surfaces that contact the pan well. A bone-in steak may need extra attention near the bone, where the meat can lift away from the skillet and cook differently from the exposed outer edges.
Inspect the packaging as well as the cut. Mechanically tenderized beef may have blade or needle marks that are not visible; check the label and follow its cooking instructions. Ground beef follows a different safety rule and should reach 160°F (71°C), not the whole-steak minimum. Keep raw steak refrigerated until preparation, and do not leave it out for hours in an attempt to bring the center to room temperature. A cold steak can be cooked successfully with sensible heat management and a thermometer. Trim dangling scraps that would burn before the main portion is done, but leave a manageable fat edge if you want to render and brown it.
Understand moisture, salt, and the browning window
A wet steak spends valuable cooking time evaporating surface water. While that water remains, the surface cannot heat as rapidly into the range where browning reactions accelerate. This is why a steak can be internally cooked yet remain pale outside. Blot every surface just before cooking, including the sides and any creases. Use paper towels and discard them promptly. Do not wash raw beef: rinsing does not make it safe and can spread contamination around the sink. Keep the drying station separate from salad ingredients and any plate intended for the cooked meat.
Weighing salt gives more consistent seasoning than measuring coarse crystals by volume. As a starting point, use about 0.75–1 percent salt by meat weight, or roughly 3–4 grams for a 14-ounce (400-gram) steak, adjusting for preference and any salty sauce. Crystal sizes vary, so a teaspoon of one kosher salt may weigh considerably more than another. If you salt in advance, keep the steak on a rack over a tray in the refrigerator, away from ready-to-eat foods. If cooking immediately, salt just before it enters the pan. Avoid adding wet marinades or sugary glazes at the beginning of a hard sear, since moisture delays browning and sugars can scorch before the meat is ready.
Pair the skillet with the burner and manage smoke
Choose a heavy skillet large enough to hold the steak without crowding, but not so oversized that its edges sit far beyond the burner. Cast iron retains heat well; stainless steel makes it easy to see the color of the browned residue used for a sauce. Either can work. A thin, lightweight pan is more likely to develop hot spots or lose heat sharply when cold meat is added. Avoid using a nonstick skillet for an aggressive high-heat sear unless its manufacturer specifically permits the temperatures involved. Never preheat coated cookware beyond its instructions.
Turn on the range hood and arrange a clear landing area for the hot skillet before starting. Add a thin film of a refined, high-heat cooking oil, such as canola or avocado oil. The goal is hot, shimmering oil, not billowing smoke; sustained smoking means the heat should come down. Preheat gradually over medium to medium-high heat rather than assuming the highest burner setting is necessary. Burner strength and pan construction vary too much for one universal preheat time. If cooking two steaks, leave clear space between them or work in batches. A crowded pan collects moisture and struggles to recover heat, so a larger quantity often needs more patience rather than a hotter burner.
Run the sear as a sequence of observable checks
Lower the steak into the skillet away from you so any splatter moves toward the back of the stove. Use long tongs, and avoid dropping the meat from a height. A steady sizzle is useful feedback; violent smoke and rapidly blackening edges call for less heat. For the first contact, gently press only enough to help the flat surface meet the pan, then release. Do not repeatedly squeeze the meat. Turn it with tongs rather than a fork, and briefly hold a substantial fat edge against the skillet if it needs rendering, keeping your hand well above the oil.
Start checking the interior early instead of relying on a promised total cooking time. A steak's thickness, starting temperature, bone, fat distribution, and pan all affect the result. For a steak around 1 inch (2.5 centimeters) thick, an initial thermometer check after roughly four minutes of total cooking can help prevent overshooting, but it is only a checkpoint, not a doneness guarantee. If the crust is already deeply browned while the center is still well below the safe endpoint, reduce the burner and continue gently. Another option is to transfer an oven-safe skillet to a 300°F (150°C) oven, checking frequently. Treat the handle as dangerously hot afterward, even once it is back on the stovetop.
Use the thermometer to set a safe endpoint
For whole beef steaks, USDA guidance is to reach at least 145°F (63°C), measured with a food thermometer, before removing the meat from the heat, followed by a rest of at least three minutes. A lower pull temperature such as 125°F (52°C) does not meet that recommendation. Do not assume a steak will gain a particular number of degrees during resting: carryover depends on thickness and cooking conditions. If following the USDA endpoint, verify 145°F (63°C) while the steak is still cooking rather than counting on an uncertain rise afterward. Color and firmness cannot reliably establish food safety.
Insert an instant-read probe horizontally through the side into the thickest central portion, keeping the sensing area away from bone and large pockets of fat. Check more than one spot, especially on an uneven steak. If one area is cooler, reposition that section over a warmer part of the pan or continue at gentler heat until it reaches the target. Clean the probe according to its instructions between uses, particularly after checking undercooked meat. Transfer the finished steak to a clean plate, never the unwashed plate that held it raw. Let it rest for at least three minutes before cutting or eating; a longer rest can be convenient for making a sauce, but is not a substitute for reaching the minimum cooking temperature.
Turn browned residue into a balanced pan sauce
After transferring the steak, inspect the skillet before adding liquid. Brown residue can make a flavorful sauce; blackened, acrid residue cannot be repaired with wine or butter. If the pan is badly scorched, use a clean saucepan and make a separate sauce. For usable browned bits, pour off excess fat while leaving roughly a teaspoon in the pan. Reduce the heat and add a finely chopped small shallot if desired, stirring briefly until softened. Keep an eye on it because the skillet still contains considerable stored heat even after the burner is lowered.
Add about 1/3 cup (80 milliliters) of unsalted stock and scrape the pan gently with a wooden spoon. If using wine, take the pan off direct heat before adding it, keep the bottle away from the stove, and return the pan to a controlled simmer. Reduce until the liquid lightly coats a spoon, then remove from the heat and swirl in about a tablespoon (14 grams) of cold butter. Taste before salting, since the steak seasoning and reduction may supply enough. A little lemon juice or vinegar can brighten a rich sauce, but add it in small amounts. Spoon sauce beside or beneath the sliced steak rather than flooding the crust you worked to build.
Solve common failures and handle the leftovers
If one side is brown and the other is pale, check the steak's shape and pan contact before increasing heat. A curled edge or a bone can hold part of the meat above the skillet. Reposition it with tongs and finish more gently if necessary. If the steak sticks, allow the crust more time to develop instead of tearing it loose immediately; use a thin spatula to help release it when ready. A greasy, bitter finish often points to overheated fat or scorched butter. Add delicate butter and aromatics only after reducing heat, and discard burned fat rather than trying to cover its flavor with herbs.
Slice across the visible muscle fibers for a shorter, easier bite, rotating sections if the grain changes direction. Refrigerate leftovers within two hours of cooking, or within one hour when the surroundings exceed 90°F (32°C). Store them in a shallow, covered container at 40°F (4°C) or below and use within three to four days. Reheat leftovers to 165°F (74°C). Thin slices warmed gently in a covered skillet with a little broth are easier to heat evenly than a large intact piece, though they will cook further. For the next attempt, record thickness, pan type, burner setting, and actual thermometer readings. Those details explain a result far better than a single claim that every steak needs the same number of minutes.
How to Sear Steak Perfectly in a Pan
Ingredients
- 1 ribeye or strip steak, 1.5 inches thick (about 14 oz / 400g)
- 1 tsp kosher salt
- 1 tbsp neutral oil
- 2 tbsp butter
- 2 garlic cloves, smashed
- 3 sprigs thyme
- Freshly ground black pepper
Instructions
- Salt steak and refrigerate uncovered at least 1 hour.
- Pat dry; heat oil in a heavy pan over high heat until smoking.
- Sear, flipping every minute, for 6–8 minutes.
- Add butter, garlic and thyme; baste for 1 minute.
- Check temperature, rest 5 minutes, then slice against the grain.
Nutrition (per serving, estimated)
Calories 610 · Protein 46g · Carbs 1g · Fat 47g
Nutrition estimated using USDA FoodData Central values; actual values vary by brand and portion.
Key Takeaways
- Dry-brine ahead: Salt the steak and rest it uncovered in the fridge for 1–24 hours.
- Preheat properly: Heat a cast iron or stainless pan until oil just smokes..
- Flip often: Flipping every 30–60 seconds cooks more evenly and builds a uniform crust..
FAQ
Why is my steak gray instead of brown?
The pan wasn't hot enough or the steak was wet.
Made this recipe? Rate it and share it on Pinterest!
Tag us so we can see your creations.