Food Trends & News
The Maillard Reaction Explained: The Science of Browning
By Sarah Mitchell · October 1, 2026 · 8 min read
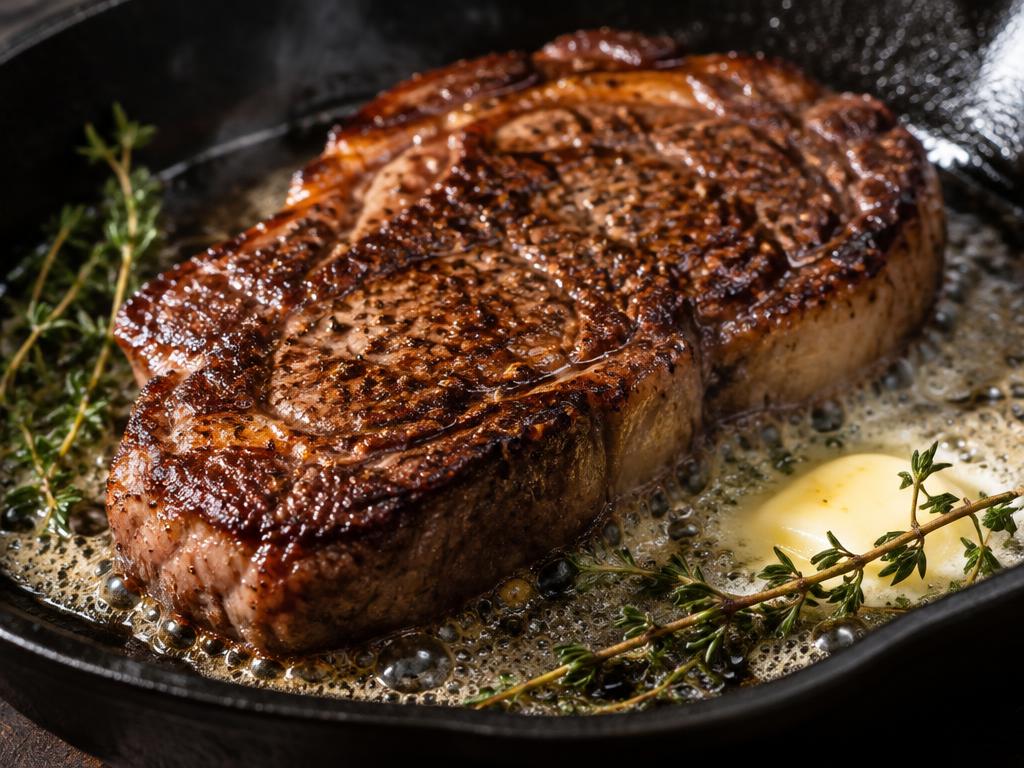
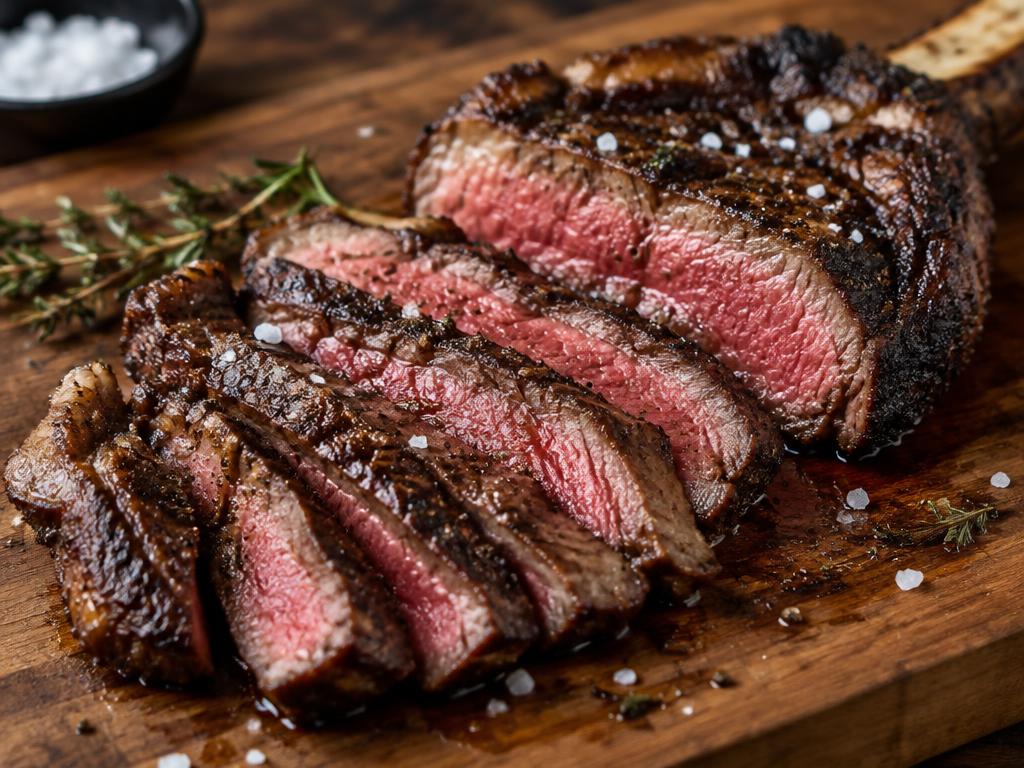
That golden crust on bread, the savory edge on a seared steak, the toasty smell of roasted coffee — they all come from one chemical reaction. Understanding it will instantly make you a better cook.
What is the Maillard reaction?
It's a reaction between amino acids and reducing sugars that begins around 280–330°F (140–165°C), creating hundreds of flavor and aroma compounds.
Maillard vs. caramelization
Caramelization involves sugar alone and needs higher heat. Maillard needs protein, which is why meat and bread brown differently than pure sugar.
Moisture is the enemy
Water can't exceed 212°F, so wet food steams instead of browning. Pat proteins dry and don't overcrowd the pan.
Practical tricks
A pinch of baking soda raises pH and speeds browning in onions; brushing pastry with egg adds protein for a deeper golden color.
Understand the temperature at the food's surface
The useful temperature is the temperature where the food meets hot air or a pan, not simply the number on an oven dial. A roast in a 400°F (200°C) oven can have a wet surface near water's boiling point while its interior remains much cooler. Once the surface dries, its temperature rises more readily and browning accelerates. That explains why identical oven settings can produce a pale braise and a deeply browned roast.
Maillard chemistry is not an on-off switch with one universal starting temperature. It can occur slowly at lower temperatures, while hotter, drier conditions make its effects much faster and more noticeable during ordinary cooking. The familiar 280–330°F (140–165°C) range is a useful culinary reference rather than a hard chemical threshold. Food composition, time, acidity, and moisture all influence what happens within and outside that range.
Water in an open pan boils near 212°F (100°C) at sea level, with a lower boiling point at higher elevations. Dissolved ingredients and pressure alter this behavior, so the shorthand about water limiting browning needs context. You do not need to measure a steak's surface temperature to cook well. Instead, watch the progression: visible moisture evaporates, sizzling changes, a crust develops, and aromas become roasted rather than merely cooked. Check internal temperature separately to determine doneness and safety.
Choose cookware that can sustain contact heat
A heavy skillet stores enough heat to recover when cool food lands in it. Cast iron and heavy stainless steel are useful for searing because their temperature drops less abruptly than that of a very thin pan. This does not mean cast iron must always be smoking hot. Excessive preheating can burn oil and seasonings before a crust forms, especially on a powerful burner or an induction hob.
Preheat over moderate to medium-high heat, add a thin film of suitable cooking oil, and introduce one piece of food as a check. You should hear active sizzling rather than a quiet hiss followed by a puddle. Leave room between pieces, and work in batches when necessary. Burner size matters too: a wide skillet on a tiny burner may brown food strongly in the middle while leaving the edges pale.
Follow the manufacturer's temperature guidance for nonstick cookware, and do not preheat an empty nonstick pan over high heat. It is not the best tool for aggressive searing, though it can produce gentle browning for eggs, pancakes, and delicate foods. If food sticks to stainless steel initially, wait briefly before forcing it loose; a developing crust often releases more readily. If you smell acrid smoke rather than toasted food, reduce the heat immediately and inspect the pan rather than treating smoke as proof that the technique is working.
Prepare proteins for a crust without losing control
Blot meat or fish with clean paper towels immediately before cooking, especially if it came from a wet package or marinade. A salty marinade can season well while still leaving enough surface liquid to delay browning. Let excess marinade drip away, and remove thick clumps of garlic or sugar-rich paste that would burn during a hard sear. Apply a fresh glaze later, using a separate clean portion rather than untreated marinade that touched raw meat.
For larger steaks or chops, a two-stage approach gives more control than trying to create crust and cook the center entirely over fierce heat. Use moderate oven heat to bring the interior toward your desired safe endpoint, then sear briefly; alternatively, sear first and finish gently in the oven. The exact sequence is less important than separating the jobs. Thin cuts cook through quickly, so a short, well-controlled sear is usually more appropriate than a long crust-building session.
Color cannot establish safety. USDA recommends 145°F (63°C) followed by a three-minute rest for whole cuts of beef, pork, lamb, and veal; ground meats need 160°F (71°C), and poultry needs 165°F (74°C). Fish should reach 145°F (63°C). Insert a thermometer into the thickest portion and avoid bone. A dark exterior can hide a cold center, while safely cooked meat can remain pink. Browning is a flavor technique, not a substitute for temperature measurement.
Use pH and surface treatments with restraint
Alkaline conditions generally accelerate Maillard browning, which is why baking soda can change the behavior of certain foods. But faster is not always better. Too much baking soda leaves an unpleasant alkaline flavor and can soften plant tissues so aggressively that onions or vegetables collapse before they develop the texture you wanted. A technique useful for a smooth onion base may be wrong for distinct, tender onion slices.
Treat baking soda as a recipe-specific ingredient rather than a universal browning booster. If experimenting, divide a small batch and change only one variable, using a measured tiny amount in one portion. Compare flavor and structure as well as color. Avoid adding it casually to an entire skillet of expensive meat. Acidic ingredients such as lemon juice or vinegar usually slow surface browning, so adding them after searing can preserve brightness without making crust development more difficult.
Surface coatings also change the result. Egg wash supplies proteins and other solids that help baked goods color, while a light flour dusting creates a drier, starch-rich layer that browns differently from bare meat. Honey and sweet sauces may darken quickly through several reactions and can burn before the interior cooks. Brush them on toward the end, or lower the heat. The deepest color is not automatically the best flavor; stop when the coating smells pleasant and tastes toasted rather than bitter.
Diagnose pale mushrooms, crowded onions, and uneven toast
Mushrooms often release enough water to frustrate an otherwise sensible sauté. Slice them evenly, use a broad skillet, and let their moisture cook away before expecting a pronounced crust. Early in cooking, the pan may look like it is simmering. That is not a failure; it is a stage. Once the liquid evaporates, stir less frequently and allow contact with the pan to create browned patches. Reduce heat if small fragments begin scorching.
Onions need a different expectation. Deeply sweet, soft onions develop over a longer cooking period than a quick sear, and their flavor involves multiple changes rather than one simple browning event. If the edges blacken while the centers remain crunchy, the heat is too high for that goal. Add a small splash of water to loosen browned deposits, scrape gently, and continue more slowly. Do not describe a five-minute sauté as fully caramelized onions just because a few edges are brown.
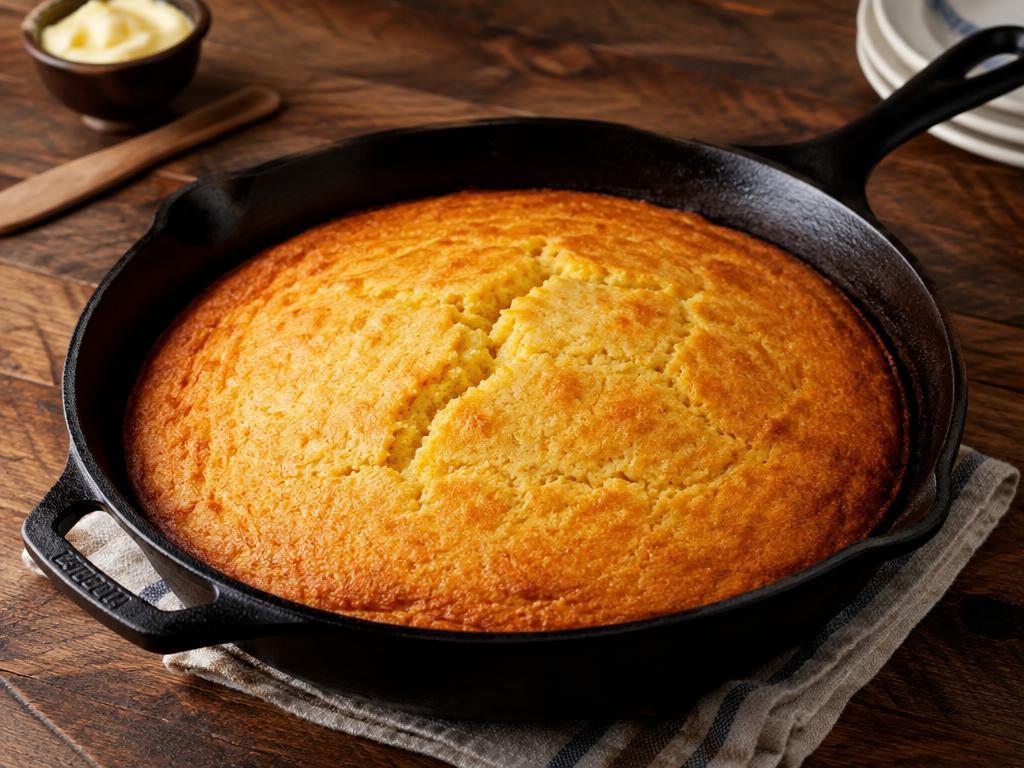
For bread, uneven thickness and uneven heat often explain patchy toast better than ingredient chemistry does. Cut consistent slices and rotate a pan or toaster-oven tray if one side colors faster. Buttered bread can scorch where milk solids collect, so use moderate heat for grilled sandwiches and give the filling time to warm. If bread darkens before cheese melts, cover briefly over lower heat rather than increasing the burner and hoping the center catches up.
Turn browned pan deposits into a balanced sauce
The brown film left after searing is called fond, and it can contribute substantial flavor to a sauce. First distinguish brown deposits from blackened, bitter residue. If the pan smells acrid or has heavily charred patches, wipe it out carefully and start the sauce in a clean pan. Adding wine or broth does not convert burned food into desirable flavor; it simply spreads that bitterness through more liquid.
For usable fond, remove the cooked protein to a clean plate, lower the heat, and pour off excess fat while leaving a small amount for aromatics. Add minced shallot if desired, soften it briefly, then add about 1/2 cup (120 ml) of unsalted broth. Scrape the pan with a wooden spoon as the liquid simmers. Use caution because the initial steam can be intense, especially in a very hot skillet.
Reduce until the liquid tastes concentrated but not salty, then remove from the heat and swirl in a small piece of butter if you want a glossy finish. Add lemon juice or vinegar only after tasting; concentrated fond may already have a strong savory edge that needs very little adjustment. If returning poultry juices or other undercooked meat juices to the pan, bring the sauce back to a thorough boil. Serve promptly, and keep sauce quantity modest enough that it complements rather than completely softens the crust you worked to build.
Practice browning while limiting smoke and scorching
A useful kitchen experiment is to cook two equal portions of the same ingredient under slightly different conditions. Try mushrooms in a crowded pan versus a spacious one, or potatoes thoroughly dried after rinsing versus potatoes still wet. Keep the pan, oil quantity, and heat setting otherwise similar. Observe how long visible liquid remains and how evenly color develops. This teaches more than changing five variables and guessing which improvement mattered.
Record sensory details rather than aiming for a laboratory result: the sound of the sizzle, the time until the first brown patches appear, and whether the finished food tastes roasted or bitter. Use ventilation and keep a lid nearby for safety when cooking with oil. If a grease fire occurs, turn off the heat if safe and cover with a metal lid; never pour water onto burning oil or carry the flaming pan across the kitchen.
Aim for golden to deep brown rather than black. High-temperature cooking of meat can form undesirable compounds, and heavy charring is not required for good flavor. Starchy foods can form acrylamide during high-temperature cooking; cooking them to golden yellow rather than very dark brown is a practical precaution consistent with FDA advice. Trim charred portions rather than serving them as the desirable part of the dish. Good browning is controlled development of aroma and texture, not a competition to use the hottest possible pan.
Key Takeaways
- What is the Maillard reaction?: It's a reaction between amino acids and reducing sugars that begins around 280–330°F (140–165°C), creating hundreds of flavor and aroma compounds..
- Maillard vs. caramelization: Caramelization involves sugar alone and needs higher heat.
- Moisture is the enemy: Water can't exceed 212°F, so wet food steams instead of browning.
FAQ
Is browning unhealthy?
Normal browning is fine. Avoid heavy charring, which can form undesirable compounds.
Found this helpful? Share it with a friend who loves to cook.
Tag us so we can see your creations.