Cooking Guides & Masterclasses
Classic Chocolate Chip Cookies (Chewy Centers, Crisp Edges)
By Sarah Mitchell · August 28, 2026 · 9 min read
Jump to Recipe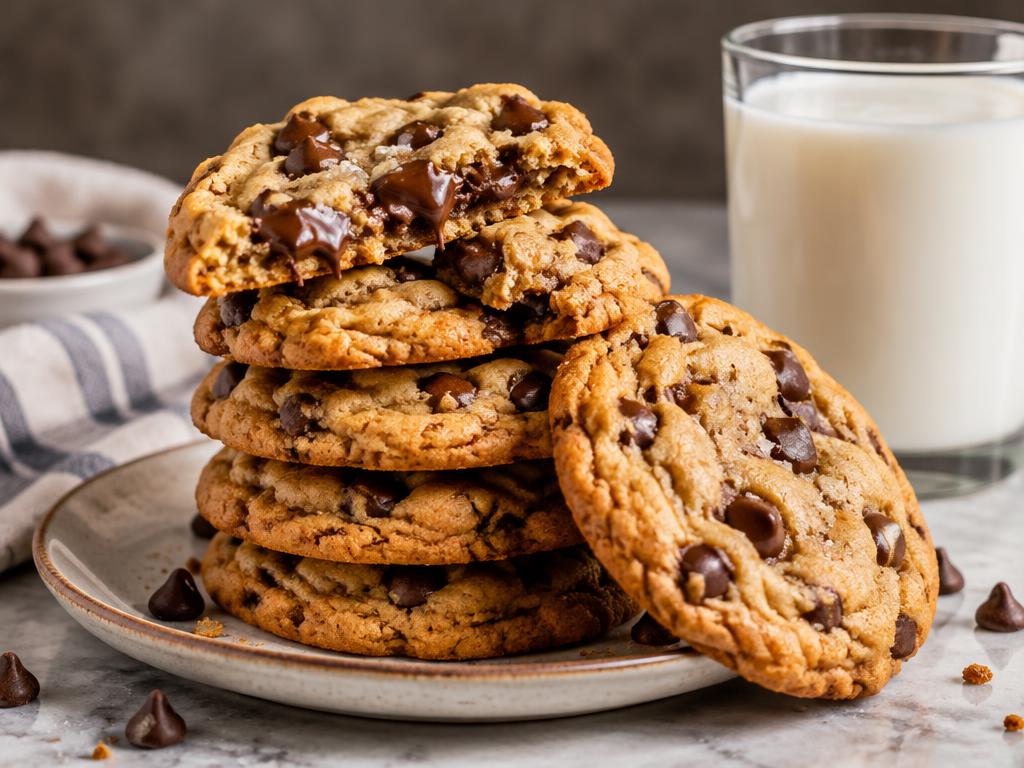
After dozens of batches, this is the chocolate chip cookie we keep coming back to: deeply caramelized, chewy in the middle, and crisp at the edges.
Why brown butter?
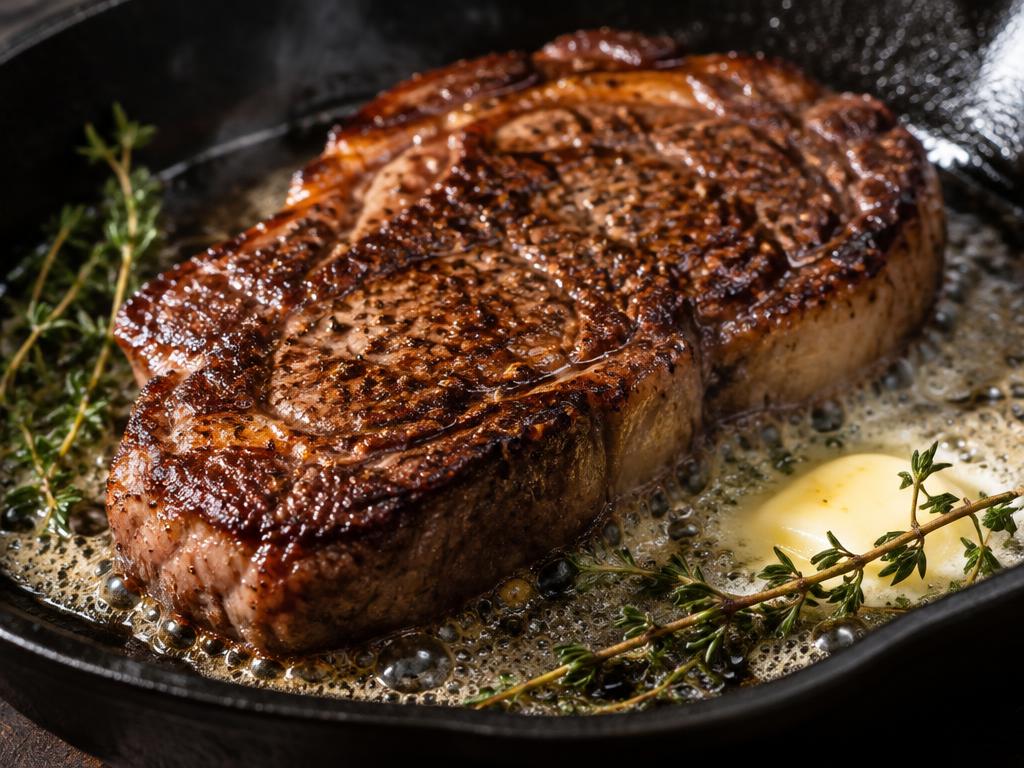
Browning butter adds nutty, toffee-like flavor via the Maillard reaction.
Rest the dough
Chilling 24 hours hydrates the flour and deepens flavor, but even 1 hour helps.
Pan-banging
Tapping the tray mid-bake creates rippled edges and fudgy centers.
Interpret the Ingredient Weights Before Starting
The ingredient list starts with 226 g of butter before browning, not 226 g of finished browned butter. That distinction matters because browning evaporates water and reduces the final weight. Weigh the original butter, brown it, and transfer both the liquid fat and toasted milk solids to a heatproof bowl. Starting with a larger quantity and measuring out 226 g afterward would deliver more fat than intended and can change spread, greasiness, and the balance of flour to liquid.
This formula also contains 340 g of chocolate, more than the 280 g of flour by weight. That generous loading means scoop placement affects shape: a portion packed with chocolate can bake differently from one containing mostly dough. Scrape and fold thoroughly enough to distribute the chips, then portion across the entire bowl rather than scooping only from the surface. Weighing portions makes this high-chocolate dough more consistent and helps identify whether an unusually large cookie simply needs more baking time.
Treat the listed yield and scoop size as approximate rather than interchangeable measurements. The total dough weight, divided by 18, gives fairly substantial cookies; smaller 3-tablespoon portions may produce more than 18 depending on how the scoop is filled. Weigh the finished dough and choose either 18 equal portions or a consistent smaller size. A practical test size is 55–60 g. Record the weight you choose so future batches can use a meaningful baking-time comparison instead of relying on a loosely packed spoonful.
Control Browned Butter Without Scorching the Solids
Use a light-colored saucepan if possible so the milk solids remain visible. Melt the butter over medium heat, stirring or swirling frequently as it foams. As water evaporates, the sound and foam change, and small golden particles collect near the bottom. Lower the heat if browning accelerates. Remove the pan when those particles are amber and the aroma is nutty, then immediately pour the butter into a heatproof bowl. A hot pan can continue darkening the solids even after the burner is off.
The useful browned flecks should smell toasted, not acrid. Blackened solids and smoke suggest burning, which can give the entire batch a persistent bitter taste. Do not scrape a scorched pan aggressively in hopes of recovering more flavor. If the butter smells burned after transfer, starting over is more dependable than trying to cover the bitterness with additional sugar or vanilla. Have the bowl ready before heating begins so a search for equipment does not happen during the narrow finishing window.
Cooling for 15 minutes is only an estimate because bowl material, batch size, and room temperature vary. Before adding eggs, make sure the butter mixture is no longer hot; roughly 90–95°F (32–35°C) or cooler is a useful practical checkpoint. Hot fat can cook bits of egg and make the mixture difficult to combine evenly. Do not routinely add water to replace browning losses in this particular formula without testing; that would be a recipe change, not merely a correction to the measuring technique.
Build an Even Dough Without Beating in Excess Air
Whisk the sugars into the cooled browned butter until evenly moistened, then incorporate the eggs and vanilla until the mixture looks cohesive. This melted-fat method does not require beating butter and sugar until fluffy. Aggressive, prolonged whipping changes aeration and may produce a different shape from the intended dense, chewy cookie. Scrape the bowl's sides and bottom so a layer of syrupy sugar mixture is not left behind when the flour is introduced.
In a separate bowl, whisk the flour, baking soda, and salt thoroughly before folding them into the wet ingredients. Baking soda lumps can leave unpleasant alkaline spots, and salt clumps create uneven seasoning. Use a flexible spatula and stop when only a few flour streaks remain, then add the chocolate and finish combining. This sequence reduces unnecessary mixing while avoiding a pocket of dry flour under a dough that appears finished from the top. Do not add extra flour just because newly mixed dough looks soft.
If the dough appears oily, check its temperature before assuming the ingredient balance is wrong. A warm mixture can look loose and become much firmer after chilling. If there are cooked egg fragments, however, chilling will not reverse them; the butter was too hot when the eggs went in. Write down any accidental ingredient change before proceeding. An extra egg or a large flour shortfall calls for a different decision than normal warmth, and blindly adding handfuls of flour usually sacrifices the intended texture.
Run a Single-Cookie Test Before Filling the Oven
A test cookie is particularly useful with browned butter because moisture loss and chilling conditions can vary. Preheat the oven fully to 350°F (175°C), line a light-colored metal sheet with parchment, and bake one measured portion on the center rack. Use a cool pan rather than one still hot from another batch. Give the portion generous room to spread and note its weight, dough temperature, and baking time. A single controlled trial can prevent an entire tray of joined or overbaked cookies.
If the test spreads too far, first check whether the dough was thoroughly chilled and whether the sheet was warm. Return the dough to the refrigerator if it has softened during portioning. If the cookie stays unusually tall and the center seems raw, the portion may be too large or too cold for the chosen time. Try gently flattening the next test portion rather than immediately changing oven temperature or adding liquid. Compare cooled cookies, since hot cookies can seem much softer than their final texture.
Only consider adjusting the remaining dough after ruling out pan temperature, portion size, and oven behavior. If a documented measuring error left too little flour, correct that specific shortfall. Without such evidence, sprinkling in flour until the dough feels familiar risks making the later batches dry and dull. Use the original 11–13 minute range as a starting point, not a promise for every portion size. Larger cookies generally need longer, while smaller ones should be checked earlier to protect their centers from drying.
Read the Edges and Center Together
Look for set, lightly browned edges and a center that has lost its raw, glossy batter appearance but remains soft. Chocolate will still be melted, so a smear of chocolate is not the same as raw dough. Check a small exposed patch between chips when assessing the center. These cookies continue firming on the hot sheet after removal, but carryover heat should not be used as an excuse to pull a visibly uncooked center. Follow the tested bake rather than deliberately serving raw dough.
Leave cookies on the sheet for the listed 10 minutes before transferring them carefully to a rack. Moving them immediately can tear the soft centers, while leaving them on a very hot pan indefinitely may overfirm the bottoms. Use a thin, wide spatula that supports the whole cookie. If edges become dark while centers remain underdone, inspect the pan color, rack position, actual oven temperature, and portion thickness. A dark sheet can create an early bottom crust that disguises an unfinished middle.
Pan-banging is optional, not a requirement for a successful batch. If you use the technique already described in the recipe, handle the hot sheet with dry oven mitts and avoid aggressive drops that could spill dough or damage equipment. Skip it entirely if the cookies are spreading excessively. For more uniform results, bake one tray at a time on the center rack before experimenting with multiple racks. Simultaneous trays can alter airflow and browning, making an otherwise reliable time harder to interpret.
Change Chocolate and Add-Ins With a Clear Trade-Off
Standard chips tend to retain recognizable pockets, while chopped baking bars often produce broader melted streaks. Either can work, but the appearance and bite will differ. Begin by keeping the total chocolate weight at 340 g so the first experiment changes chocolate form rather than both form and quantity. A mixture of semisweet chips and chopped dark chocolate gives contrasting textures without requiring extra sugar. Choose chocolate you enjoy eating because the dough cannot conceal a harsh or stale flavor.
Milk chocolate makes each bite sweeter, while a high-cocoa dark chocolate adds more bitterness and a firmer contrast after cooling. Rather than changing the dough's sugar immediately, test a half-batch with the new chocolate first. Sugar affects spread, browning, and moisture as well as sweetness, so reducing it is not a neutral way to compensate for sweet chips. Keep white chocolate substitutions modest on a first trial because their flavor and melting behavior are different again. Label trial portions so comparisons remain useful.
For a nut variation, replace part of the chocolate with an equal weight of cooled toasted walnuts or pecans rather than adding a large extra load. For example, use 280 g of chocolate and 60 g of nuts. Chop nuts into manageable pieces so the scoop can form a cohesive portion. Tell anyone eating the cookies about the nuts, and prevent cross-contact when preparing a separate nut-free batch. Avoid casually substituting coconut flour or almond flour for all-purpose flour; those changes require a separately developed formula rather than a simple equal-weight swap.
Preserve Chewiness and Bake Frozen Portions Reliably
Once fully cool, store cookies in a tightly closed container so the centers do not lose moisture rapidly. Keep them separate from crisp cookies, which can soften as moisture redistributes. For best eating quality, plan to enjoy the room-temperature batch within a few days, or freeze part of it sooner. Wrap or separate the cookies so you can remove a small serving without repeatedly thawing the whole supply. Label the container with the baking date and any allergen-containing variations.
For unbaked portions, freeze measured dough balls on a parchment-lined tray until firm, then transfer them to a freezer container. Keep the freezer at 0°F (-18°C) or below. The recipe's three-month freezing window is a practical quality target, not a claim that dough suddenly becomes unsafe on the next day if continuously frozen. Mark each bag with portion weight and oven temperature. Bake from frozen on a cool lined sheet, starting with the suggested extra two minutes and checking the actual edges and center rather than relying solely on the clock.
Keep raw dough refrigerated at 40°F (4°C) or below while resting, and minimize time on the counter during scooping. Do not taste it raw: both flour and eggs can carry harmful bacteria. The same warning applies after freezing, which does not make raw dough ready to eat. Wash hands and equipment after handling it. When serving baked frozen cookies, thaw covered, then briefly warm an individual cookie if desired. Repeated warming and cooling dries the batch, so refresh only the number you intend to eat.
Classic Chocolate Chip Cookies (Chewy Centers, Crisp Edges)
Ingredients
- 1 cup (226g) unsalted butter, browned
- 1 cup (200g) brown sugar
- 1/2 cup (100g) granulated sugar
- 2 large eggs
- 2 tsp vanilla
- 2 1/4 cups (280g) all-purpose flour
- 1 tsp baking soda
- 1 tsp salt
- 2 cups (340g) chocolate chips
Instructions
- Brown butter and cool 15 minutes.
- Whisk in sugars, then eggs and vanilla.
- Fold in flour, soda and salt, then chocolate.
- Chill at least 1 hour.
- Scoop 3 tbsp balls and bake at 350°F (175°C) for 11–13 minutes.
- Cool 10 minutes on the tray.
Nutrition (per serving, estimated)
Calories 210 · Protein 2g · Carbs 27g · Fat 11g
Nutrition estimated using USDA FoodData Central values; actual values vary by brand and portion.
Key Takeaways
- Why brown butter?: Browning butter adds nutty, toffee-like flavor via the Maillard reaction..
- Rest the dough: Chilling 24 hours hydrates the flour and deepens flavor, but even 1 hour helps..
- Pan-banging: Tapping the tray mid-bake creates rippled edges and fudgy centers..
FAQ
Can I freeze the dough?
Yes, freeze scooped balls up to 3 months and bake from frozen, adding 2 minutes.
Sources
Made this recipe? Rate it and share it on Pinterest!
Tag us so we can see your creations.