Quick & Easy Meals
Crispy Roasted Chickpeas Without a Rock-Hard Center
By Flavor Feast Kitchen · October 20, 2026 · 8 min read
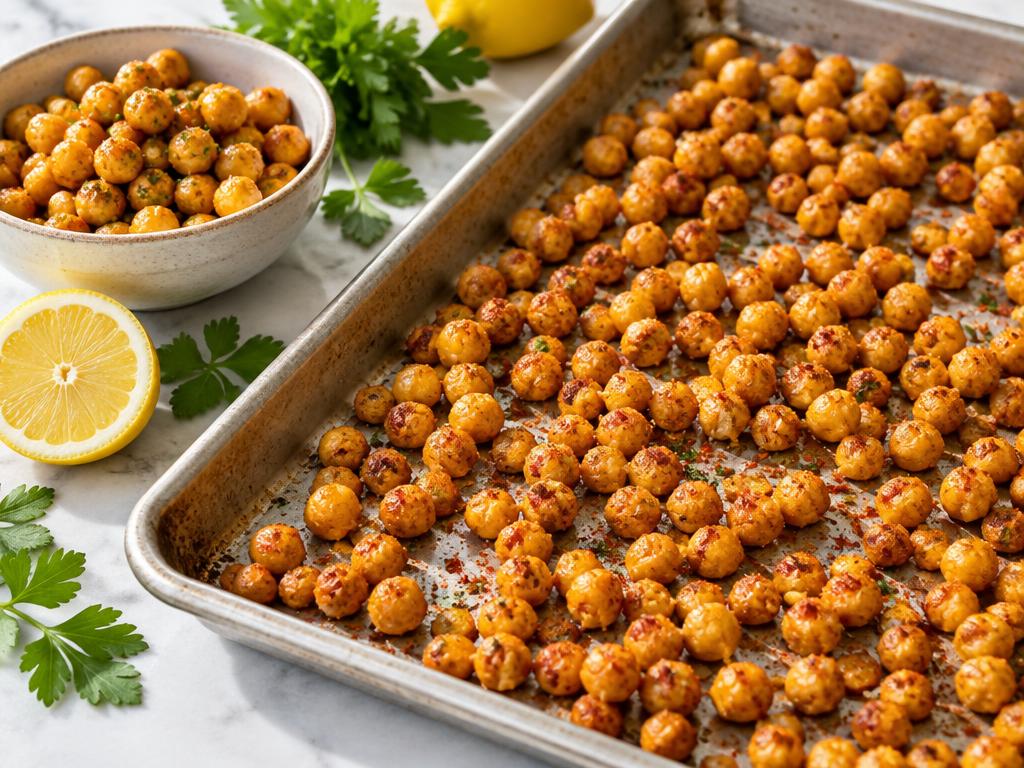
There are two different snacks hiding behind the phrase crispy chickpeas. One is crunchy almost all the way through. The other has a browned, crisp surface and a center that still feels like a chickpea. Neither is wrong, but roasting for the first result when you want the second can leave you with beans that are tiring to chew. This guide aims for the second texture: golden outside, tender enough inside to use in a bowl, salad or warm wrap. It uses cooked canned chickpeas, explains the oil and seasoning choices, and gives you useful checks instead of pretending every oven will finish at exactly the same minute.
Quick Decisions and Fixes
| What you find | What to change |
|---|---|
| Chewy, pale exterior | Dry the surface more thoroughly and leave space between beans. |
| Hard, hollow center | Sample earlier and shorten roasting for a tender-centered topping. |
| Bitter paprika or garlic | Add delicate ground spices to warm beans after roasting. |
| Crunch fades in storage | Serve soon after roasting; refrigerate leftovers safely instead of chasing shelf stability. |
Decide whether you want a topping or a dry snack
For a salad topping, a little tenderness is welcome. It gives contrast without making the whole plate feel dry. For a crunchy snack, you might deliberately bake longer, but the same extra time can make chickpeas too hard for a wrap or grain bowl. Decide the purpose before heating the oven. That decision tells you when to stop, which is more useful than chasing the darkest possible color.
This article is not a method for turning raw dried chickpeas directly into a quick snack. Begin with fully cooked beans, either canned or properly cooked by a suitable method. If you use home-cooked chickpeas, their moisture and tenderness may differ from a can, so cooking time will shift. Do not combine uncooked dried beans with the timings below. Roasting a raw bean is not a substitute for cooking it properly.
Start with a can that suits the job
Use one standard can, around 15 ounces or 400–425 grams, and read the label for the actual drained amount. Different brands can have quite different bean sizes and textures even when the front of the can looks similar. No-salt-added chickpeas give you more control over seasoning; salted ones can work too, provided you taste before adding more. There is no need to select a costly brand on the assumption that price guarantees better roasting.
Drain the chickpeas in a sieve and rinse with running water. Set aside damaged cans or products covered by a recall rather than assuming oven heat will make them safe. If a chickpea already tastes hard before roasting, the oven will not usually turn it into a tender-centered topping. Choose beans that are pleasantly tender at the start. The goal of this stage is a sound ingredient with predictable moisture, not elaborate prep.
Dry the surface without flattening the beans
Spread drained chickpeas on a clean towel or paper towels. Blot and roll them gently so the outside is no longer visibly wet. Water on the surface must evaporate before useful browning can happen, which is why beans transferred straight from the sieve often steam first. You do not need to leave them on the counter for hours. A thorough towel blot is a practical kitchen step, not a long room-temperature drying process.
Some skins will loosen as you dry. Pick off the obvious loose ones if you want a neater tray, but peeling every chickpea is optional. It adds work and is not necessary for a useful dinner topping. Do not crush the beans while chasing every last skin; broken interiors can dry more quickly than intact beans. If you want to compare peeled and unpeeled texture, try a few of each in the same batch rather than making peeling an absolute rule.
Use a modest coating of oil from the start
Oil helps distribute heat over the surface and gives the finished chickpeas a more pleasant bite than dry roasting alone can. For one drained can, start with about one tablespoon of oil and toss to coat lightly. The beans should look lightly glossy, not sit in a pool. If you use a larger batch, make sure you have enough tray area rather than simply adding more oil to a crowded pile.
Use an oil appropriate for roasting and your dietary needs. This is not a claim that all oils behave identically or that one bottle makes the snack healthy by itself. The amount, meal context and other ingredients still matter. If you are following a prescribed diet, choose ingredients that fit that advice. For the cooking problem here, the important distinction is a thin, even coating versus either no coating or a puddle that makes the tray greasy.
Give the oven and tray a fair chance
Preheat a conventional oven to 400°F (200°C) as an adaptable starting point. Published chickpea methods range from lower temperatures to 425°F, and their texture goals and timings differ. Check early if your oven runs hot or your pan is dark. A heavy rimmed sheet pan is convenient because you can turn the beans without chasing them across the oven. Use liners only within their stated temperature limits.
Spread the chickpeas in one layer with visible room between them. A small pan can work for one can, but two cans may need a second tray. Crowding traps moisture and leaves some beans pale while exposed ones get hard. Put the tray near the middle of the oven, not directly beside a heating element. Keep the surface flat enough that oil does not collect heavily at one end, and use dry oven mitts when handling the hot tray.
An adaptable roasting sequence
Drain, rinse and dry one can of cooked chickpeas. Toss with about one tablespoon of oil and a modest pinch of salt if needed. Spread in a single layer on a rimmed pan. Roast at 400°F (200°C), turning or shaking carefully partway through. Begin checking around twenty minutes; many batches need roughly twenty-five to thirty-five minutes, but bean moisture, size and oven performance make those times approximate.
Look for golden patches and a drier surface. Take a few beans out with a utensil, allow them to cool briefly, then bite one carefully. Stop when the outside has the bite you want and the center is still comfortable to chew. Add delicate ground spices after roasting while the chickpeas are warm. Cool briefly on the tray before serving. Do not keep extending cooking just because hot beans have not yet reached their final crispness.
Season after browning when spices are delicate
Paprika, finely ground garlic and some spice blends can taste bitter if they spend too long against a hot tray. Adding them to warm chickpeas after roasting gives you control over both flavor and burning. Start with a small amount, toss and taste. If the seasoning falls to the bottom of the bowl, a very small additional drizzle of oil may help it adhere, but avoid turning the finished beans into an oily coating.
A simple combination is smoked paprika, cumin and black pepper. For a lemon-herb direction, use lemon zest and chopped parsley at serving. Lemon juice is delicious too, but it adds moisture and softens crisp surfaces; reserve it for the assembled bowl if crispness matters. Check seasoning blends for salt and allergens. The label matters more than the name on the front, especially when serving somebody with a specific food allergy.
Why a batch can be chewy instead of crisp
Chewy beans may have steamed because the surface was wet or the tray was crowded. They can also simply be at an earlier stage of roasting. Before adding a long extra bake, cool and taste a sample. If the center is tender but the outside still feels damp, spread the beans more widely and return them for a short additional period. Continue checking rather than walking away until a new fixed timer rings.
If some beans are crisp and others soft, consider size differences and tray position. Rotate the tray or turn the beans so pale sides meet more heat. Do not assume every bean needs to be identical; aim for a batch that eats pleasantly. Next time, dry more carefully and use another tray when needed. An oven thermometer can help if several different recipes brown unexpectedly fast or slowly, but it is not necessary to diagnose a visibly crowded pan.
Why another batch can be hard and hollow
Long roasting removes moisture from the center as well as the surface. That is useful when a dry snack is the target, but not when you want a tender topping. Hard, hollow-feeling beans usually need a shorter bake next time, not a more elaborate seasoning mix. Leaving a finished tray in a switched-off hot oven also extends drying, so take it out when you reach your preferred bite.
There is no reliable way to return an already heavily dried chickpea to its original roast texture. You can use an edible batch in a soup or sauce where moisture will soften it, but that changes the dish. Avoid serving very hard beans to anyone who may have difficulty chewing them. For the next batch, keep the early oil coating, sample sooner, and judge after a brief cooling period rather than waiting for deep brown color everywhere.
Build a meal that keeps the texture useful
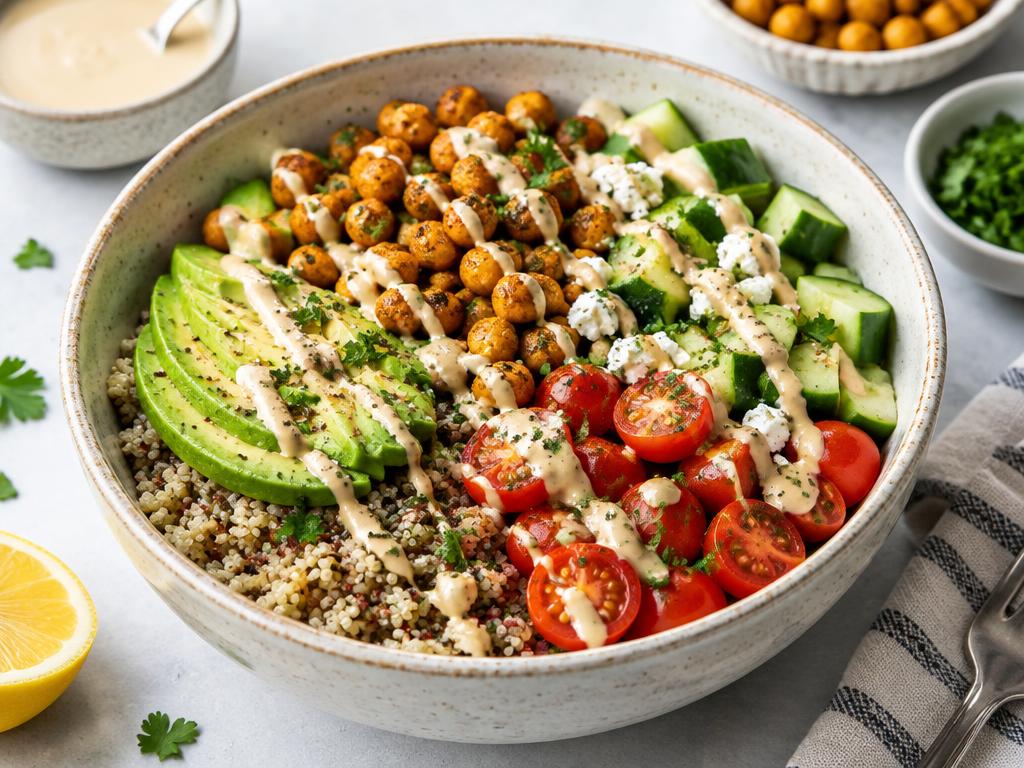
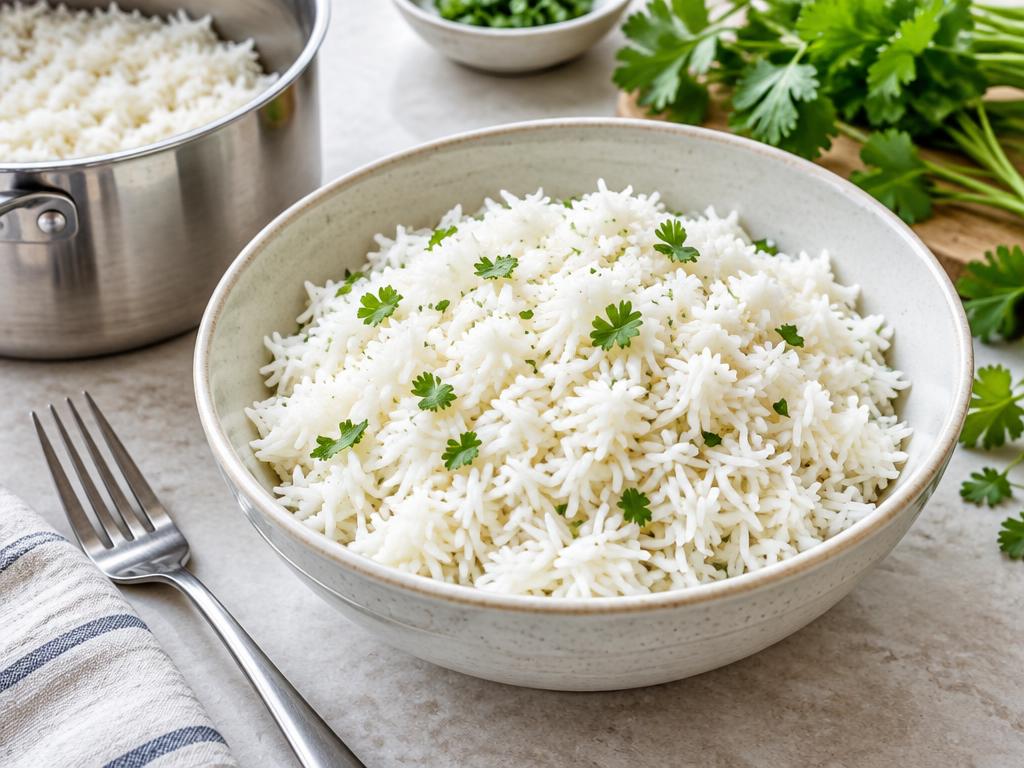
For a rice bowl, put warm rice and vegetables in the bowl first, then scatter chickpeas on top shortly before eating. Keep yogurt or tahini sauce to one side or drizzle lightly at the end. For a salad, dry washed leaves thoroughly; a wet salad base makes even well-roasted chickpeas soften quickly. In a wrap, combine the chickpeas with moist vegetables or a little sauce so the meal does not become dry overall.
Crispness will fade in a closed, humid container. Plan these as a same-day topping when texture is the priority, not a promised weeklong substitute for packaged snacks. If making lunch ahead, store the components separately and accept that refrigerated chickpeas may need reheating and may not regain their first texture. Food safety takes priority over crunch: a loosely covered counter container is not a reason to ignore leftover handling limits.
Store leftovers with safety ahead of crispness
For this tender-centered version, treat the chickpeas as cooked leftovers. Refrigerate promptly in a shallow container at 40°F (4°C) or below, within two hours or within one hour above 90°F (32°C). Use within three to four refrigerated days under general USDA guidance. Do not assume that a browned outside makes the entire bean dry enough for long room-temperature storage. This method does not measure water activity or establish a shelf-stable product.
To warm leftovers, use a method that brings them to 165°F (74°C) throughout; a brief toast that only crisps the outside is not an adequate safety check. Reheating may make the center drier, so use refrigerated leftovers in bowls or soups where that change is less noticeable. If beans have been held unsafely, discard them. Smell and appearance cannot reliably tell you that cooked food with a poor storage history is safe.
Key Takeaways
- Decide whether you want a topping or a dry snack: For a salad topping, a little tenderness is welcome.
- Start with a can that suits the job: Use one standard can, around 15 ounces or 400–425 grams, and read the label for the actual drained amount.
- Dry the surface without flattening the beans: Spread drained chickpeas on a clean towel or paper towels.
FAQ
Do I have to peel every chickpea?
No. Remove loose skins if convenient, but thorough surface drying and tray space are more useful starting priorities.
Can I roast chickpeas with no oil?
You can, but the result may feel drier rather than pleasantly crisp. This guide uses a light coating for the tender-centered texture.
Will these stay crunchy for a week?
That is not promised. They are best soon after roasting; refrigerate leftovers safely and expect the texture to change.
Sources
Questions or a correction? Contact Flavor Feast Kitchen with the article title and what you noticed.