Meal Prep & Planning
The Ultimate Guide to Meal Prep for Beginners
By Sarah Mitchell · October 11, 2026 · 7 min read
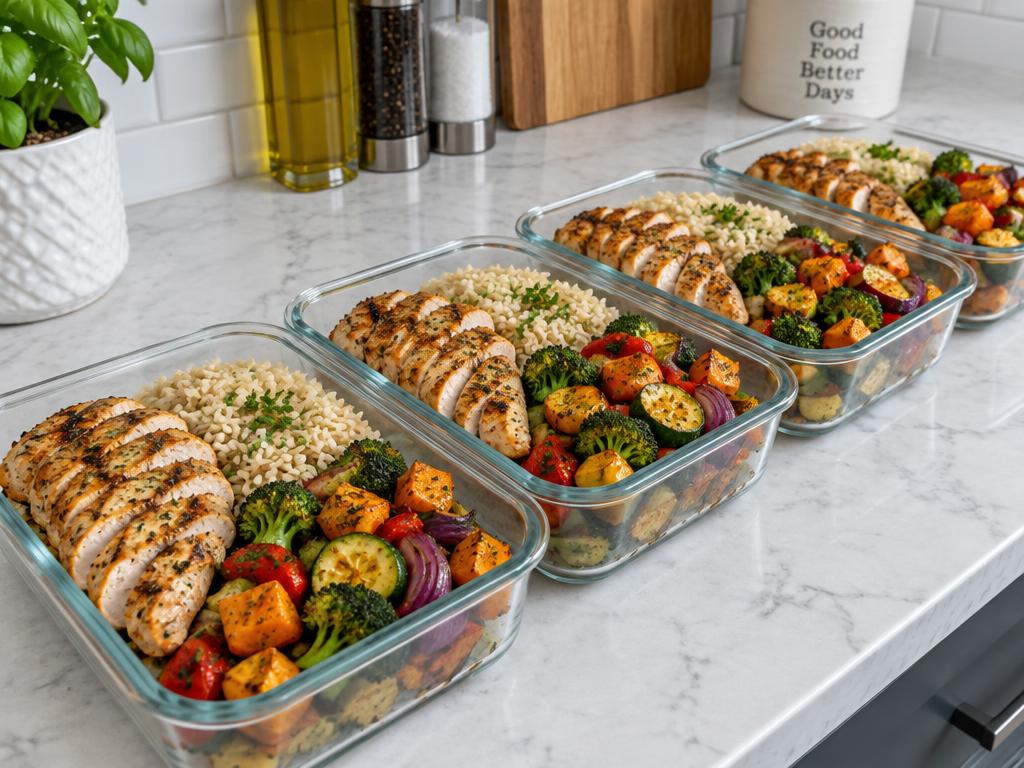
Meal prep isn't about eating the same sad lunch five days in a row. Done well, it's a few hours on Sunday that buys you a calmer, healthier week.
Choose your style
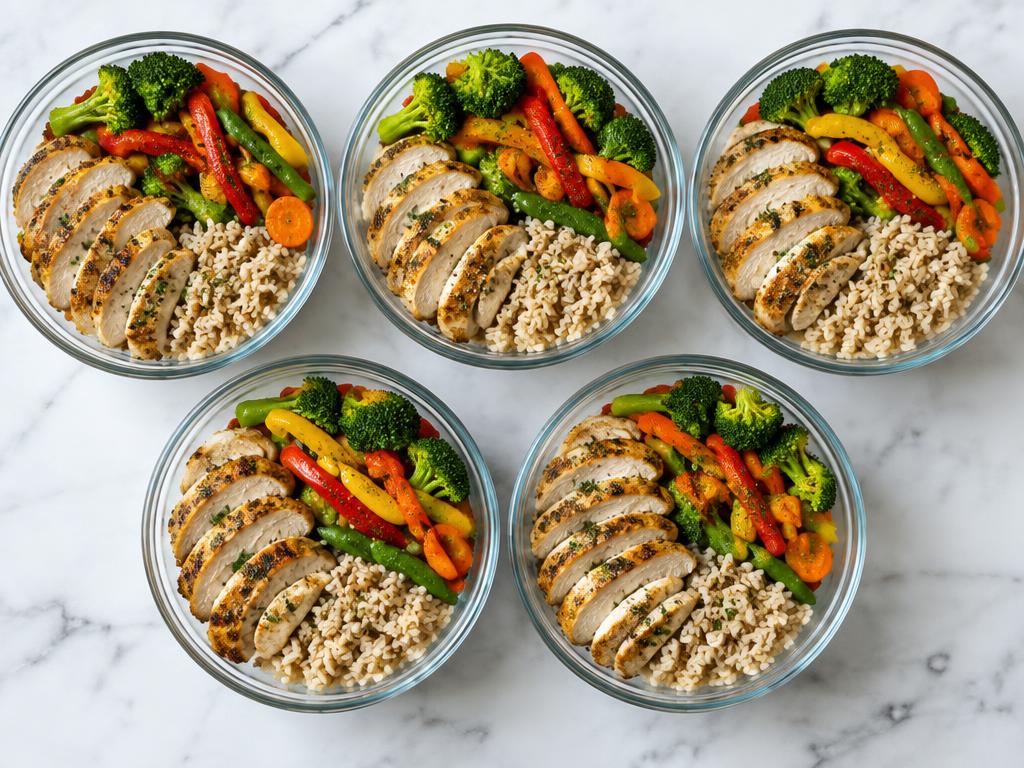
Full meals in containers, ingredient prep (cooked grains, chopped vegetables), or batch-cooked freezer meals.
Plan around 2–3 base recipes
Pick one protein, one grain and two vegetables that mix and match.
Shop with a list
Organize by store section to save time and avoid impulse buys.
Batch cook efficiently
Use the oven, stovetop and a rice cooker simultaneously.
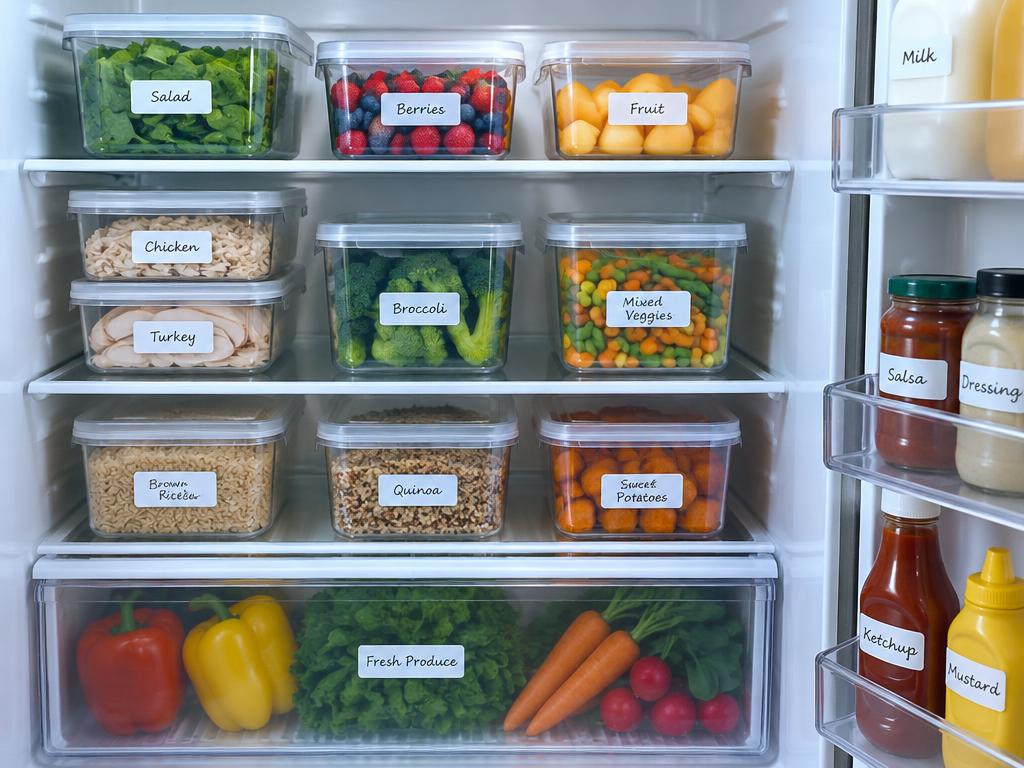
Store safely
Cool food within 2 hours and refrigerate in shallow containers. Most cooked meals keep 3–4 days, per USDA guidance.
Start with a calendar audit, not a marathon cooking session
Before choosing recipes, look at the actual week ahead. Mark evenings when someone will be away, lunches that cannot be refrigerated, and days when you have only ten minutes to eat. A household of two does not automatically need fourteen prepared dinners. If Tuesday is a restaurant night and Friday is uncertain, prepare six reliable portions rather than a refrigerator full of optimistic plans. Choose the meal that currently causes the most friction, whether that is breakfast before school or lunch between meetings, and solve that problem first.
For a manageable first attempt, plan three refrigerated lunches and two freezer portions. Write down when each will be eaten before buying ingredients. A Sunday cooking session can cover Monday through Wednesday in the refrigerator; freeze portions intended for later in the week promptly rather than waiting until they are nearly too old. Move a frozen portion to the refrigerator the night before it is needed. This simple calendar prevents a five-day lunch plan from quietly exceeding USDA's three-to-four-day refrigerated leftover window.
Leave one flexible meal unassigned. Eggs, canned beans, frozen vegetables, and bread can become a quick dinner if schedules change. Keep a brief note about what came back uneaten and why. Portions that were too large, missing utensils, or an overly spicy sauce are useful planning information, not evidence that meal prep has failed. Adjust one variable the next week instead of replacing your entire system.
Translate portions into a practical grocery basket
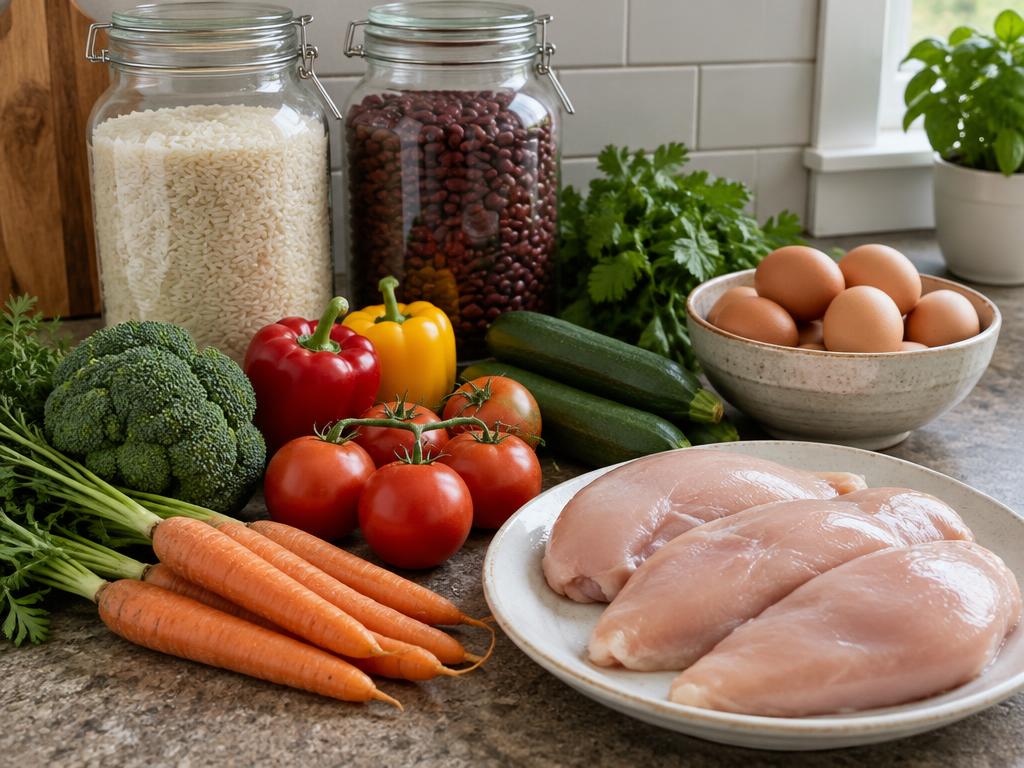
Shop from planned servings rather than recipe photographs. For four mixed bowls, a useful starting basket is 1½ pounds (680 g) of boneless chicken, 1 cup (about 185 g) of dry rice, 1½ pounds (680 g) of vegetables, a can of beans, and one lemon. These are planning quantities, not mandatory serving sizes. Appetite, the amount of beans, and whether the meal includes bread will change how far the ingredients stretch. Record the yield of your first batch so your next shopping list reflects your household.
Organize the list by how ingredients will be used. Broccoli florets can roast for bowls while peeled, thinly sliced stems go into a skillet dinner. A tub of plain yogurt can supply breakfast and a savory dressing, provided you reserve clean portions before handling raw ingredients. Buy delicate greens only when you can name the meals that will use them. Frozen peas, carrots, and spinach are useful backups because you can remove exactly what you need without committing to an entire fresh package.
Check cooking oil, salt, spices, freezer bags, and containers before shopping. A missing lid can disrupt a session as effectively as a missing ingredient. Compare unit prices, but buy the larger package only if there is a storage plan for the surplus. For meat, divide and freeze unused raw portions promptly; raw poultry generally keeps only one to two days in a refrigerator at 40°F (4°C) or below. Label those packages separately from cooked meals so their different storage needs are obvious.
A realistic ninety-minute kitchen workflow
Begin by clearing a refrigerator shelf and setting out the containers you intend to fill. Preheat the oven to 425°F (218°C), start the longest-cooking grain according to its package, and wash produce before handling raw meat. During the first twenty minutes, chop vegetables and arrange them in a single layer on a sheet pan. Crowded vegetables trap steam and emerge soft; use another pan rather than stacking them deeply. Keep raw poultry and its utensils away from ingredients that will be eaten without further cooking.
During the middle part of the session, roast vegetables and chicken on separate pans, using separate utensils. Timing depends on thickness and your oven, so begin checking the chicken before the estimated finish time. Poultry must reach 165°F (74°C), measured in the thickest part with a food thermometer. While the oven works, rinse canned beans, mix a dressing, and wipe down the area used for raw meat. Do not rinse raw chicken: splashing can spread bacteria around the sink and nearby surfaces.
Use the last portion of the session for portioning and cleanup, not for letting everything sit until cold. Divide cooked foods into shallow containers and refrigerate promptly, within two hours of cooking, or one hour when the surrounding temperature exceeds 90°F (32°C). Hot food can go directly into the refrigerator in small portions. If a grain takes longer than expected, package the finished components first. A schedule is a guide for organizing tasks, not a reason to rush safe cooking or delay refrigeration while waiting for a perfect assembly line.
Choose packaging for the meal and the journey
Match the container to both the food and the equipment available at lunchtime. A broad, shallow container encourages more even microwave heating than a tall jar packed with dense food. Glass is useful at home, but it is heavier in a commuter bag. Lightweight containers can work well when labeled for the intended use. Check manufacturer instructions for microwave, freezer, and dishwasher suitability rather than assuming every plastic lid can tolerate heat. Replace containers with damaged seals or cracks that make cleaning difficult.
Separate wet and crisp elements at packing time. Put cucumber, shredded cabbage, toasted seeds, and crackers in dry compartments or small side containers. A two-tablespoon dressing cup prevents the grain portion from absorbing all the sauce overnight. If you freeze a meal, leave room for expansion, especially with soup. Allow hot glassware to cool appropriately before exposing it to freezer temperatures, following the manufacturer's thermal-shock guidance; food should still be divided and refrigerated promptly rather than left on the counter.
For transport, use an insulated bag with at least two cold sources, such as frozen gel packs, and refrigerate the meal on arrival when possible. A desk drawer is not cold storage. If there is no dependable refrigerator, plan shelf-stable components that stay sealed until eating, or maintain safe cold holding throughout the trip. Pack a fork, napkin, and any removable toppings with the meal the night before. Good packaging is not just tidy: it removes the small inconveniences that otherwise make a prepared lunch less appealing than buying something nearby.
Build distinct meals from neutral components
Season the base components enough to taste good alone without committing every portion to the same strong flavor. A pan of chicken with garlic, black pepper, and a modest amount of salt can go in several directions. One portion becomes a warm bowl with beans and tomato salsa; another becomes a pita filling with cucumber and yogurt; a third accompanies roasted carrots with a mustard dressing. The change should involve texture and acidity as well as a different spice sprinkled over the same lunch.
Keep a small finishing kit rather than preparing five elaborate sauces. A lemon, a jar of mustard, vinegar, and an herb or spice blend can supply several combinations. Mix only the amount of dressing you expect to use, with clean utensils. Add citrus or vinegar after reheating when you want a brighter flavor. Acid does not make a cooked meal shelf-stable or extend its safe refrigerator life. Date the components and follow the storage window of the most perishable ingredient in the assembled meal.
Think about texture during reheating, too. Pack roasted vegetables separately if you want to warm them in a skillet while rice heats in the microwave. Add a spoonful of water to a dry grain portion, cover with a vented microwave-safe lid, stir midway, and check that the complete leftover portion reaches 165°F (74°C). A fixed number of microwave minutes is not a safety guarantee. Equipment wattage, container shape, and whether the meal started frozen all affect how long it needs.
Recover from common prep problems without wasting the week
If the food tastes flat on Wednesday, identify what is missing before adding more salt. Refrigerated starches can seem dry, and a little warm water or broth may help more than extra seasoning. Add a fresh crunchy topping or a squeeze of lemon after reheating. If the vegetables are watery, drain excess liquid and warm them separately next time. For future batches, dry vegetables thoroughly and leave more space on the roasting pan. Better technique often solves the problem without requiring new recipes or expensive ingredients.
If you consistently abandon the last portions, reduce the batch. Freeze one or two servings on cooking day, when quality is still good, instead of treating the freezer as a last-minute rescue for questionable leftovers. Label each package with the dish, cooking date, and number of servings. A flat freezer bag of soup is easier to stack and thaw than a large solid block. Thaw in the refrigerator, not on the counter; microwave thawing is an option when you will heat and eat the food immediately.
Build a short weekly review into the routine. Note how many portions were actually eaten, whether the grocery basket fit the budget, and which task caused a bottleneck. Perhaps the oven was crowded, or chopping three vegetables took longer than cooking the protein. Next time, choose frozen vegetables or a faster grain rather than simply starting earlier. The useful measure is not how impressive the finished containers look. It is whether the system supplies meals you enjoy, within your available time, without creating avoidable waste or unsafe storage habits.
Key Takeaways
- Choose your style: Full meals in containers, ingredient prep (cooked grains, chopped vegetables), or batch-cooked freezer meals..
- Plan around 2–3 base recipes: Pick one protein, one grain and two vegetables that mix and match..
- Shop with a list: Organize by store section to save time and avoid impulse buys..
FAQ
How long does meal prep last?
3–4 days in the fridge; freeze anything you won't eat by then.
Can I freeze rice?
Yes, cooled rice freezes well for up to 1 month.
Found this helpful? Share it with a friend who loves to cook.
Tag us so we can see your creations.